Lenovo ThinkPad is a highly reliable and popular laptop brand that offers excellent performance and durability. However, some users may experience certain issues, such as the Lenovo ThinkPad black screen issue after firmware update. This problem can be frustrating for users who rely on their laptops for work or personal use. Fortunately, there are some ways to fix this issue.
What is the Lenovo ThinkPad Black Screen Issue?
The Lenovo ThinkPad black screen issue usually occurs when the firmware update process fails or interrupts. This results in a completely black screen, and the user cannot access anything on their laptop. The issue can also occur due to faulty hardware or software issues.
How to Fix the Lenovo ThinkPad Black Screen Issue?
If you are experiencing the Lenovo ThinkPad black screen issue after a firmware update, you can try the following solutions:
- Perform a Hard Reset: Performing a hard reset can often solve the black screen issue. To do this, remove the battery and unplug the charger from your laptop. Press and hold the power button for at least 30 seconds. Then, reinsert the battery and plug in the charger. Turn on your laptop and check if the issue is resolved.
- Boot into Safe Mode: Booting your laptop into safe mode can help identify any software issues that may be causing the black screen issue. To boot into safe mode, press the F8 key repeatedly while your laptop is booting up. Select Safe Mode from the options displayed and let your laptop boot up normally. If your laptop boots up normally in safe mode, you may have to uninstall any recently installed software or drivers that are causing the issue.
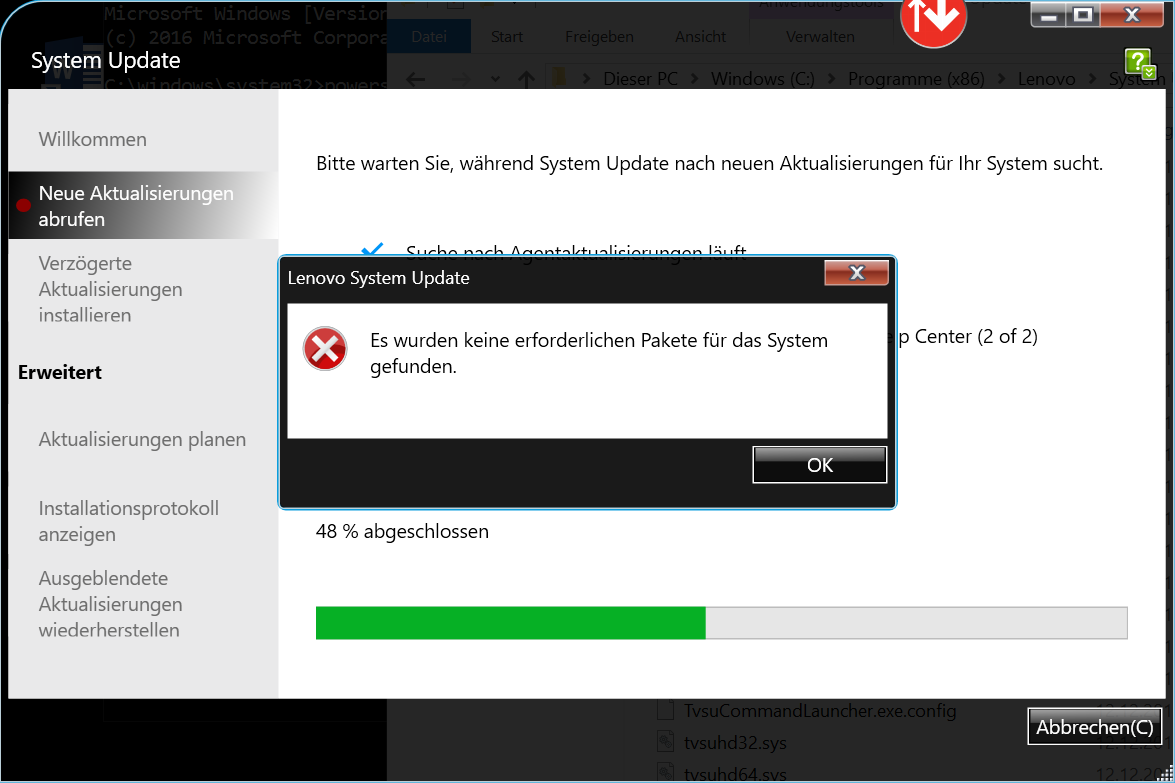
- Update or Rollback Drivers: Outdated or faulty drivers can cause the black screen issue. Hence, updating or rolling back the drivers may solve the problem. Go to your laptop manufacturer’s website and download the latest drivers for your laptop model. Alternatively, you can roll back the drivers to a previous version if the latest version is causing the issue.
- Perform a System Restore: If none of the above solutions work, you can perform a system restore to revert your laptop to a previous working state. To do this, go to the Control Panel, select System and Security, and then click on System. Click on System Protection and select System Restore. Choose a restore point when your laptop was working correctly, and follow the instructions to complete the process.
If the Lenovo ThinkPad black screen issue still persists after trying these solutions, it may be due to hardware issues such as a damaged display or motherboard. In this case, it is best to contact a professional technician who can diagnose and fix the problem for you.
Conclusion
The Lenovo ThinkPad black screen issue after a firmware update can be frustrating for users who rely on their laptops. However, by performing a hard reset, booting into safe mode, updating or rolling back drivers, or performing a system restore, you can often resolve this issue. If the issue persists, it may be due to hardware problems, and it is best to seek professional help.